When it comes to managing data in Excel, one important aspect is setting the print area. By defining the print area, you can control which part of your worksheet gets printed, ensuring that only the relevant data is included. In this post, we will explore how to set the print area in Excel 2010 and discuss some useful tips for maximizing your printing efficiency.
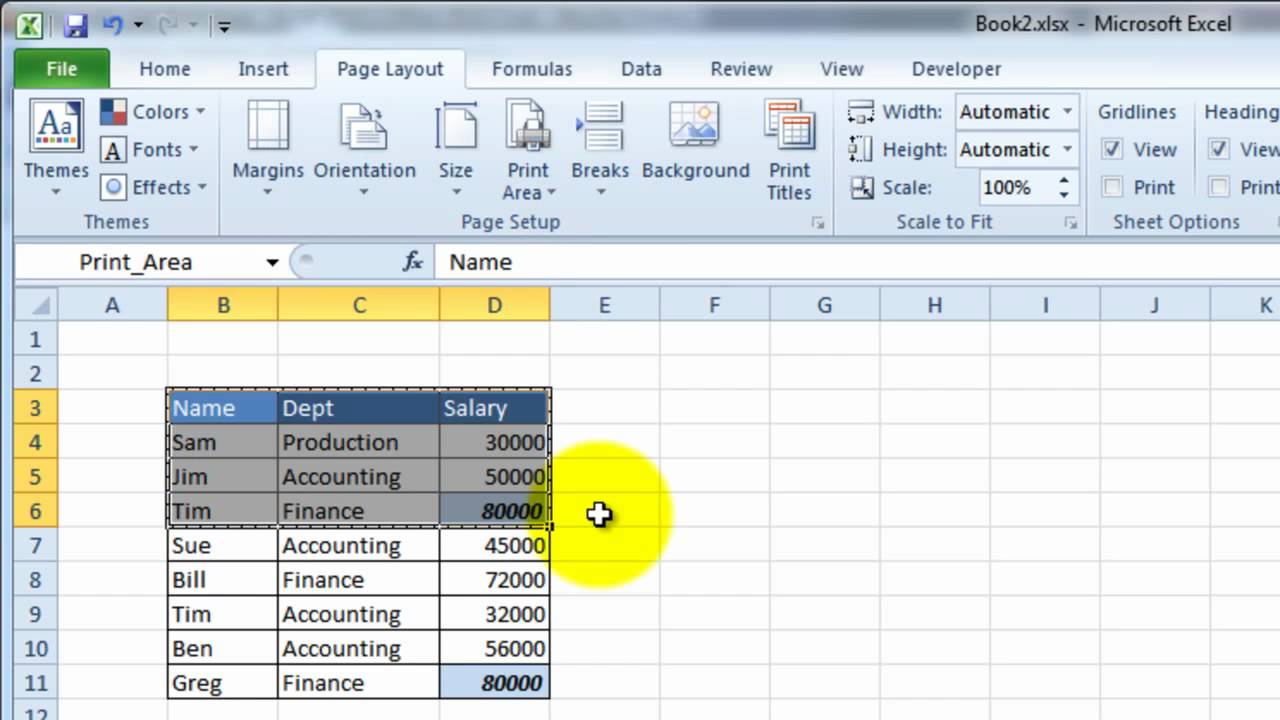
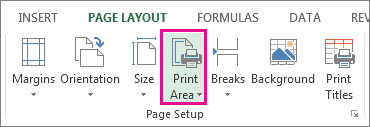
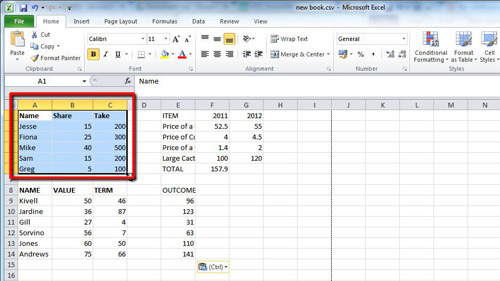
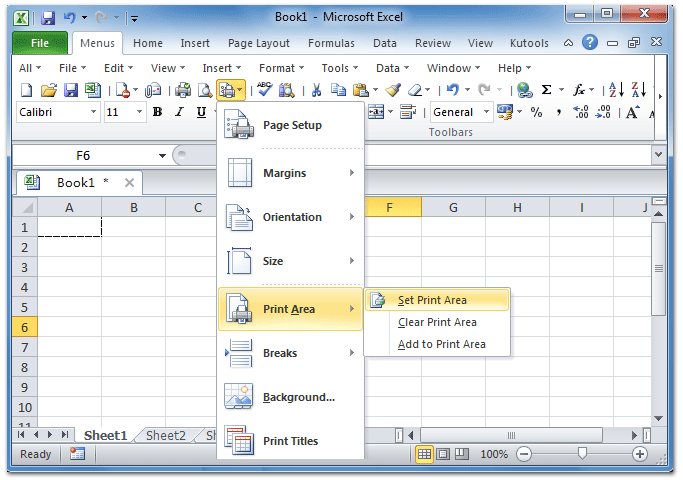
Setting the print area is a straightforward process in Excel 2010. Start by selecting the range of cells that you wish to include in the printout. Once selected, navigate to the “Page Layout” tab in the Excel ribbon. In the “Page Setup” group, click on the “Print Area” dropdown and select “Set Print Area” option.

If you want to set the print area for multiple sheets in your Excel workbook, the process is slightly different. Start by selecting the first sheet, then hold down the Ctrl key and click on the other sheets you want to include. With the desired sheets selected, follow the same steps as before to set the print area.
Adjusting the printable area in Excel is also possible. Sometimes, you may have specific requirements where certain rows or columns need to be excluded from the printout. To achieve this, select the desired range and navigate to the “Page Layout” tab. In the “Page Setup” group, click on “Print Area” and choose “Add Print Area”. This will create a new print area while maintaining the existing one. You can repeat this process to add multiple print areas.
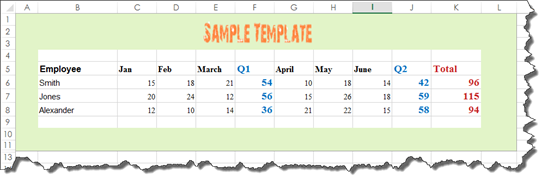
Excel also provides templates and outlines that can help streamline your printing process. Templates offer predefined settings for specific purposes, such as budgets, calendars, or invoices. By selecting a template related to your needs, you can quickly set up the print area and other formatting settings with minimal effort.
In addition to the built-in features, Excel also allows you to manually set the print area. This can be useful when you have non-contiguous cells or specific print requirements. To do this, select the desired range and navigate to the “Page Layout” tab. In the “Page Setup” group, click on the “Print Area” dropdown and choose “Set Print Area”. Repeat this process for each non-contiguous range you want to include in the printout.
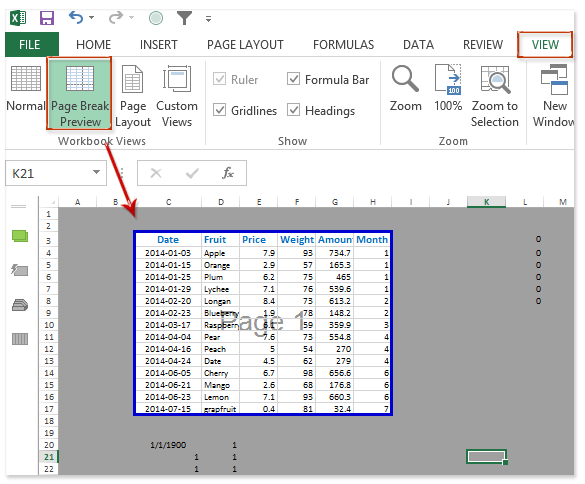
For those using Excel 2013 and above, you can take advantage of another helpful feature called “Page Break Preview”. This view allows you to visualize your print area, page breaks, and overall layout before printing. It provides greater control and flexibility, as you can easily adjust the print area and page breaks by simply dragging and resizing the boundaries.
Remember that setting the print area in Excel not only ensures that your printed documents look professional but also prevents unnecessary waste of paper and ink. By excluding irrelevant data, you can present a concise and well-structured document to your audience.

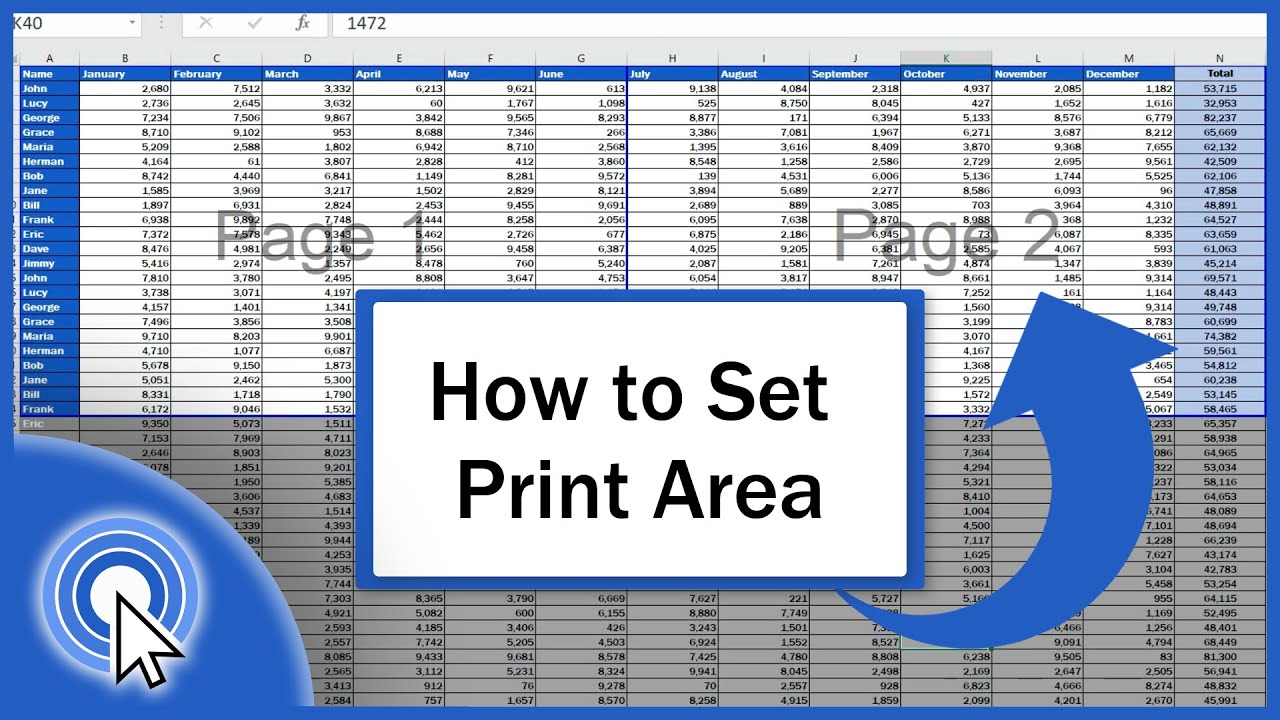
We hope this post has provided valuable insights into how to set the print area in Excel 2010. Whether you are preparing financial reports, invoices, or sales presentations, mastering this aspect of Excel will undoubtedly improve your efficiency and professionalism. Take advantage of the various features and techniques discussed here to optimize your printing workflow and create visually appealing documents with ease.

For more detailed instructions and visual demonstrations, you may refer to the video resources provided in this post. Additionally, consult the official Microsoft Support website for further assistance on setting or clearing print areas in Excel.
Remember, effective data management in Excel requires attention to detail and an understanding of the available tools and features. By taking the time to set and adjust your print areas properly, you can ensure that your printed materials accurately represent your data and make a positive impression on your audience.